How to screenshot on a laptop running Windows is quite simple to use. Using the Print Screen (PrtSc) button on your keyboard is the most popular way. By doing this, you may copy anything that’s on your screen to your clipboard and use Ctrl + V to paste it into any application, including Word, Paint, and email.
The snapshot isn’t immediately saved as an image file using this approach, though. Use the Windows Key + PrtSc combo to accomplish it. The snapshot is saved as a PNG file in the “Screenshots” folder, which is found in the “Pictures” area of your computer, when you simultaneously hit these keys. You may save time and effort by using this approach instead of manually pasting and saving the picture.
Press Alt + PrtSc to record the active window just, rather than the screen as a whole. This will make it simpler to copy and use by capturing the window you’re now working in and copying it to your clipboard.
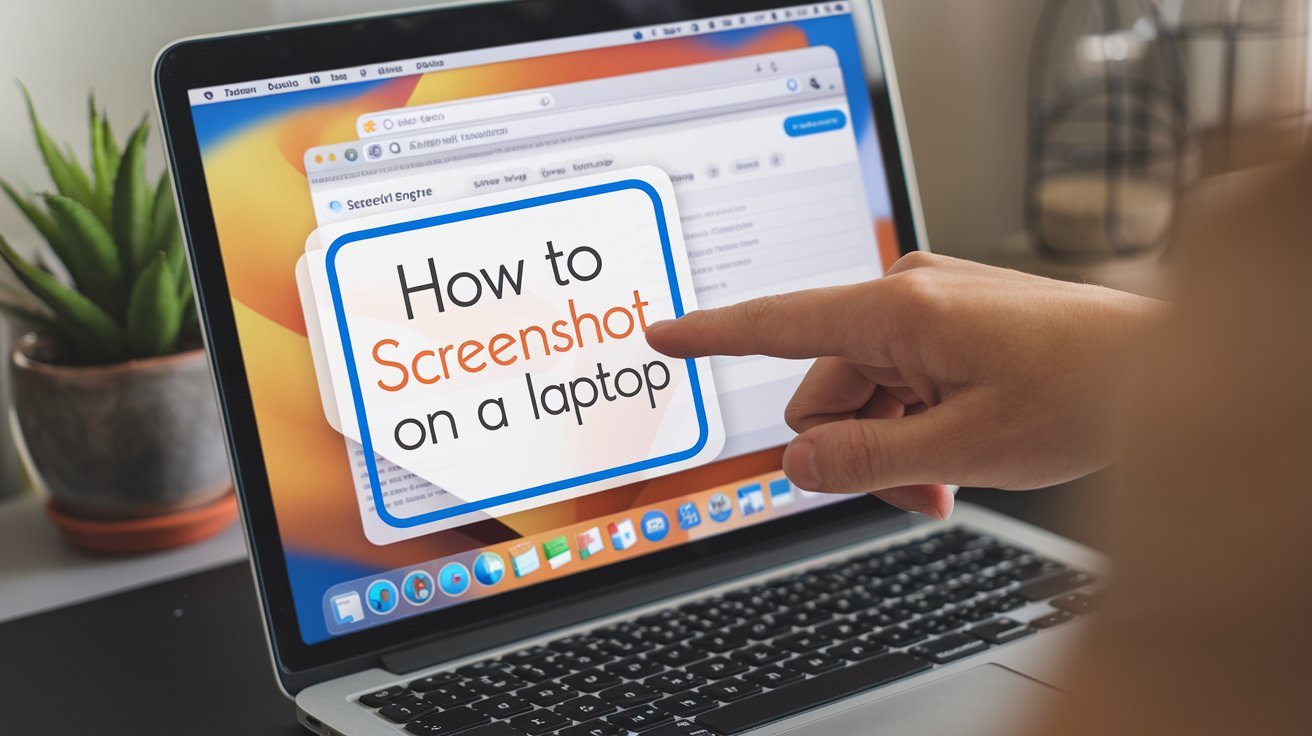
2. How to Screenshot on Mac Laptops
Quick and Efficient!
It’s also quite easy to take a screenshot on a Mac laptop. To capture the entire screen, hit Command + Shift + 3. By doing this, you may quickly take a picture of your whole screen and save it to your desktop. The snapshot is easier to arrange and retrieve later if you can find the file tagged with the date and time it was captured.
You may also hit Command + Shift + 4 for much greater accuracy. You may choose the area of your screen to record by using the crosshair that appears when your cursor changes to that shape. To take a screenshot, just click and drag the desired region. When you let go of the mouse, the screenshot will be saved to your desktop.
For even more control, press Command + Shift + 5 to open the Screenshot Tool. This tool allows you to capture the entire screen, a selected window, or a portion of the screen. It also includes options for recording your screen, making it incredibly versatile for various uses.
3. Using Snipping Tools for Precision Screenshots
Precision is Key!
The Snip & Sketch tool, available to Windows users, offers more accuracy than the default Print Screen button. Press Windows Key + Shift + S to open it. Your screen will go dark as a result, letting you choose the precise region you wish to take a picture of. You have the option of capturing a single window, a freeform snip, or a rectangle snip.
A notice pops up in the lower-right corner and the image is automatically transferred to your clipboard once you take a screenshot. Snip & Sketch is the best app for people who require more control over their screenshots since you may change the screenshot before saving it by clicking on this notice.
Mac users can achieve similar precision with their Command + Shift + 5 Screenshot Tool, which offers additional customization for screenshotting specific portions of the screen or windows.
4. Full Screen vs. Partial Screen: Choosing the Best Option
Capture Exactly What You Need!
For maximum efficiency, know when to capture the entire screen as opposed to just a portion of it. When you need to record or share everything on your screen, whether in technical troubleshooting, project collaboration, or documenting specific information, full-screen captures come in handy.
Partial screen grabs, on the other hand, are perfect if you want to concentrate on a single piece of material, such an image, a passage of text, or a specific section of a webpage. You may quickly take screenshots that are clutter-free and contain only the most critical information by employing the above-mentioned techniques.
5. Advanced Tips for Saving and Editing Screenshots
Organize and Enhance!
The next stage is to save and modify your snapshot after it has been taken. Users of Windows can crop, annotate, or highlight particular portions of their screenshots by opening them in Microsoft Paint or any other image editing program. In a similar vein, Mac users may open screenshots in Preview and immediately crop or annotate them.
It’s advisable to store your screenshots in distinct folders according to your needs or projects in order to keep them organized. You might, for instance, organize your screenshots into distinct categories for work, school, and personal use, which would make finding screenshots later on much easier.
6. Third-Party Apps for Screenshotting
Take It to the Next Level!
Screenshot software from third parties, like as Snagit and Lightshot, are great choices for customers who want more sophisticated functionality than what the built-in tools offer. These programs come with more editing capabilities, the capacity to take screenshots of scrolling pages (ideal for lengthy webpages), and the ability to share them online instantaneously.
You may also make templates using these programs for jobs that you undertake often, including writing tutorials or step-by-step instructions.
7. Conclusion: Screenshot Like a Pro!
Learning how to take a laptop screenshot is an important ability that has many applications for increasing productivity. These techniques can help you quickly record the precise information you need, whether you’re sharing moments with friends, generating lessons, or storing crucial information.
You will be able to snap custom, partial, and full-screen screenshots with ease if you follow the advice and methods provided here. If you’d want even more flexibility, third-party programs and snipping tools can offer the accuracy and adaptability you need to make your screenshots stand out. Happy screenshotting