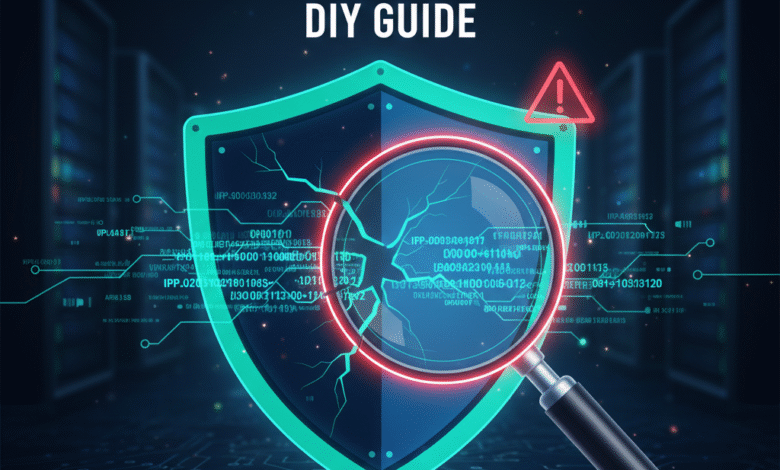
The Hidden Threat: Why Your VPN Might Be Failing You
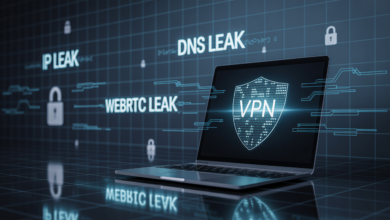
Introduction to VPN Leak Test: You invested in a Virtual Private Network (VPN) for a simple reason: privacy and security. But what most users don’t realize is that a poorly configured or low-quality VPN can suffer from “leaks” that expose your real location and online activity, completely defeating the purpose. A leak means your encrypted tunnel has holes. If you can’t verify your security, you don’t have security.
As security analysts at Buzzball.us, we believe true digital security requires constant verification. This guide, written by Team Buzzball, provides a simple, three-step DIY test based on our extensive lab analysis to ensure your VPN is truly protecting you from IP, DNS, and WebRTC leaks. This is the difference between thinking you’re safe and knowing you’re safe.
1. Test 1: The IP Address Leak Check (The Foundation)
Your IP address is like your home address on the internet. A functional VPN should replace your real public IP with the VPN server’s IP, making you appear to be in a different geographical location. This is the most basic, yet most critical, test.
How to Perform the IP Leak Test:
-
Preparation (Establish Baseline): Disconnect your VPN. Open your browser and search “What is my IP address.” Note the result—this is your actual public address and location.
-
The Test Run: Connect to your desired VPN server (e.g., Miami, USA). Visit a reputable third-party IP address checker tool (e.g., ipleak.net or whatismyipaddress.com).
-
The Verdict: The address shown must be the IP of your VPN server’s location, not your real location.
The Danger of IPv6 Leaks (Crucial Expansion)
While IPv4 is the standard, modern internet relies on IPv6. Many older, cheaper VPNs are built to secure IPv4 traffic but fail to secure IPv6 traffic, causing an immediate leak.
-
The Risk: Even if your main connection looks secure, the IPv6 address can reveal your real location to websites and trackers.
-
Actionable Fix: If your test results show an IPv6 address that does not match the VPN server, your best bet is often to disable IPv6 completely in your operating system’s network adapter settings (on both Windows and Mac) until you switch to a VPN that offers native IPv6 support.
2. Test 2: The DNS Leak Check (The Critical Security Flaw)
A Domain Name System (DNS) leak is the most common and arguably the most dangerous flaw. When you type a website address, your computer asks a DNS server for the site’s IP address. If this request bypasses the VPN tunnel, your ISP (Internet Service Provider) can still see every site you visit.
Why is a DNS Leak Worse than an IP Leak? (Expertise)
Your IP leak tells the website where you are. A DNS leak tells your ISP—the entity mandated by law to log your data—every single website you requested to visit. Your ISP has a full record of your browsing history, regardless of your VPN connection.
How to Perform the DNS Leak Test:
-
The Test: While connected to your VPN, visit a dedicated DNS leak test website (like dnsleaktest.com). The tool will list the DNS servers it detects.
-
The Verdict: Only the DNS servers associated with your VPN provider’s network (e.g., “NordVPN DNS,” “ExpressVPN DNS”) should appear. If you see DNS servers belonging to your local ISP (e.g., Verizon, Comcast, Sky), your privacy is being logged by a third party.
Mitigating the Risk with Encrypted DNS (DoH/DoT)
A key advancement is Encrypted DNS (DNS over HTTPS, or DoH; DNS over TLS, or DoT).
-
How it Works: This protocol encrypts the DNS query itself, preventing even a sophisticated ISP from seeing which websites you are asking for.
-
Actionable Fix: If your VPN is leaking DNS, you can manually set your network adapter to use highly trusted, public DNS servers (like Cloudflare’s 1.1.1.1 or Google’s 8.8.8.8) which support encryption. This is a temporary fix until you find a reliable VPN.
3. Test 3: The WebRTC Leak Check (The Browser Vulnerability)
Web Real-Time Communication (WebRTC) is a technology built into most modern browsers (Chrome, Firefox, Edge) that allows for fast peer-to-peer communication (like video calls and file sharing). Unfortunately, WebRTC can sometimes reveal your computer’s real, local IP address outside the VPN tunnel.
Why Does WebRTC Bypass the VPN?
WebRTC uses different protocols to establish a connection that sometimes operates at the browser level, bypassing the system-level VPN tunnel. This means while your browser appears to be using the VPN’s IP for normal traffic, your real local IP is exposed via the WebRTC protocol.
How to Perform the WebRTC Leak Test:
-
The Test: With the VPN running, use a WebRTC leak testing tool. The tool will display your public IP (the VPN’s) and often your local IP (the non-routable address).
-
The Verdict: If the test displays your real public IP, you have a serious WebRTC leak. If it only displays your local IP (starting with 192.168.x.x or 10.x.x.x), you are safe, but a well-designed VPN should mask this entirely.
Quick Fixes to Disable WebRTC:
Since many VPNs fail this test, manual disabling is common:
-
Chrome/Brave: While there is no native disable option, installing a specialized WebRTC Blocker extension is the quickest way to kill the protocol.
-
Firefox: Type
about:configin the address bar, search formedia.peerconnection.enabled, and set the value to False.
5. Troubleshooting: Quick Fixes for Common Leaks
Even a good VPN can leak due to software conflicts or configuration errors. Based on our testing, here are the two most frequent quick fixes:
| Issue | Cause | Solution |
| Kill Switch Failure | The VPN application or OS updated, disabling the automatic Kill Switch feature which blocks traffic when the VPN drops. | Go into your VPN’s settings and manually test and re-enable the Kill Switch feature. |
| Cache and Cookie Exposure | Your browser’s history, cache, or stored location data is still revealing your true location to sites after you connected the VPN. | Clear your browser’s cache and cookies completely before connecting to the VPN server to ensure a clean start. |
6. Conclusion: Security Requires Vigilance
Passing these three tests—IP, DNS, and WebRTC—is the absolute minimum requirement for any VPN claiming to offer privacy. If your current service failed any step, it’s time to switch. In our labs, we found that many “free” or cheaper services often intentionally neglect IPv6 or DNS security to cut costs.
-
For those still searching for a secure and tested provider, we’ve compiled a list of BEST FREE VPNS FOR REMOTE WORK ARTICLE HERE that consistently passed our strict, multi-protocol leak-testing protocol.
-
To understand the bigger picture of digital security and how the rise of AI and SGE affects your privacy online, read our comprehensive Understanding Google’s SGE for guidance on protecting your data in the modern web.